By now some of you must be wondering whether I own stock in some fruitful balsamic vinegar company (a safer location for stock ownership than say a large financial institution), but I assure you I do not. I happen to love balsamic vinegar in many dishes, and for whatever reason those I have pulled out lately have featured it prominently.
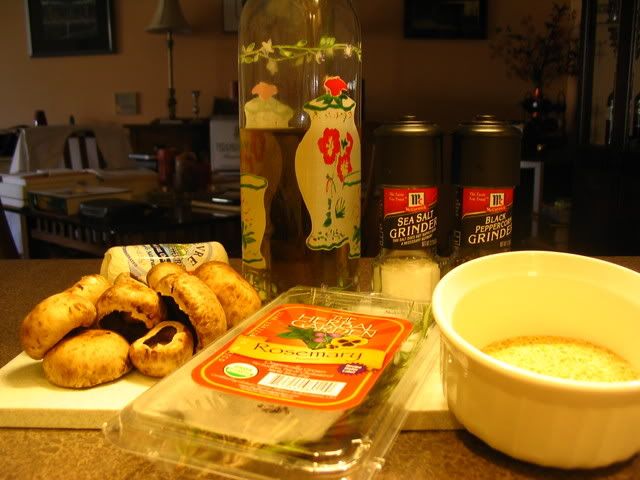
Ingredients
For the balsamic BBQ sauce:
1 cup balsamic vinegar
3/4 cup ketchup
1/3 cup brown sugar
1 garlic clove, minced
1 tablespoon Worcestershire sauce
1 tablespoon Dijon mustard
1/2 teaspoon salt
1/2 teaspoon freshly ground black pepper
For the chicken:
4 pieces chicken, any combination of breast or leg and thigh pieces
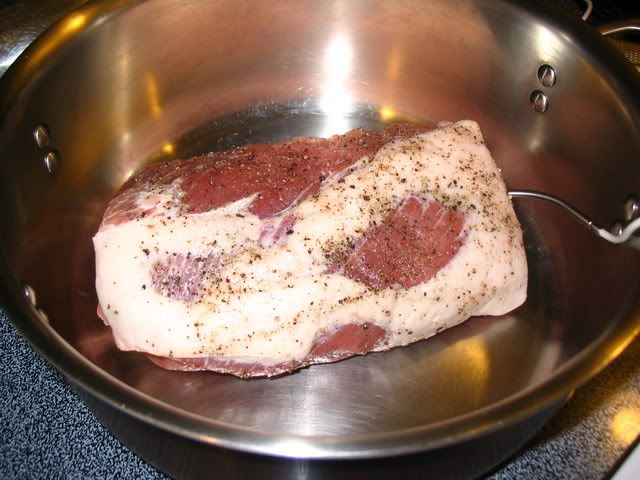
Salt and freshly ground pepper

General Instructions
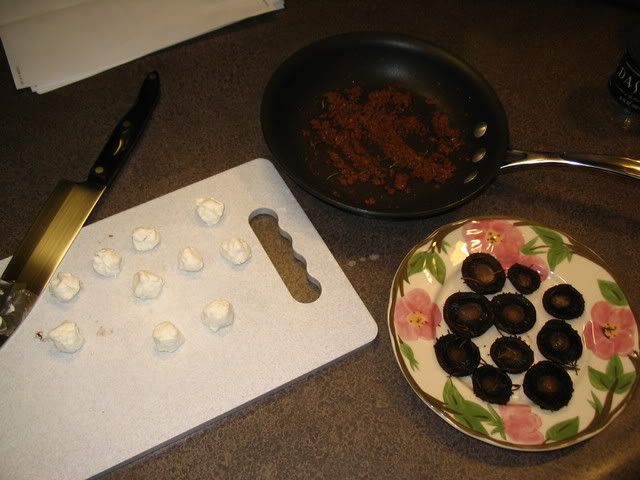
For the BBQ sauce:
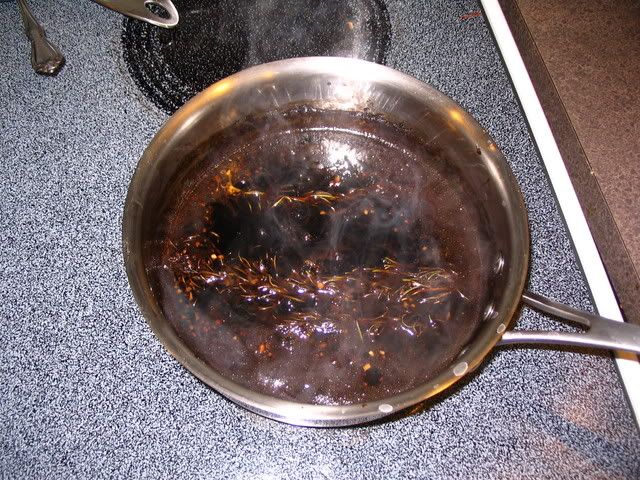
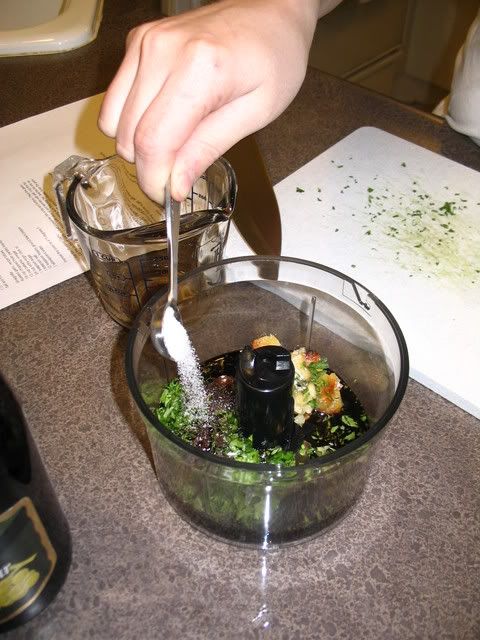
Combine all the ingredients in a small saucepan and stir until all the ingredients are incorporated and the mixture is smooth. Simmer over medium heat until reduced by 1/3, about 15 to 20 minutes.

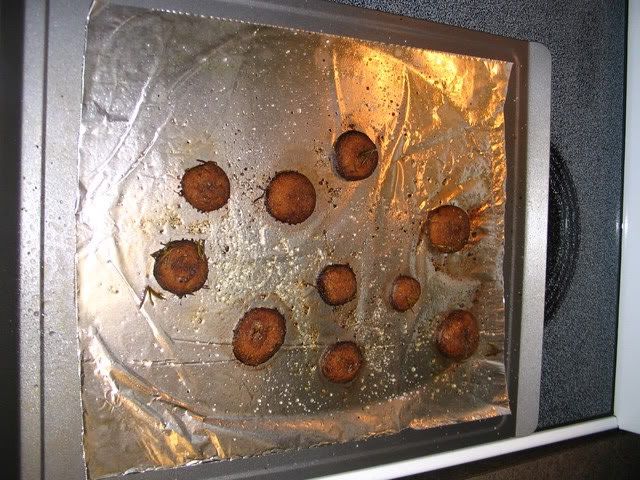
For the chicken:
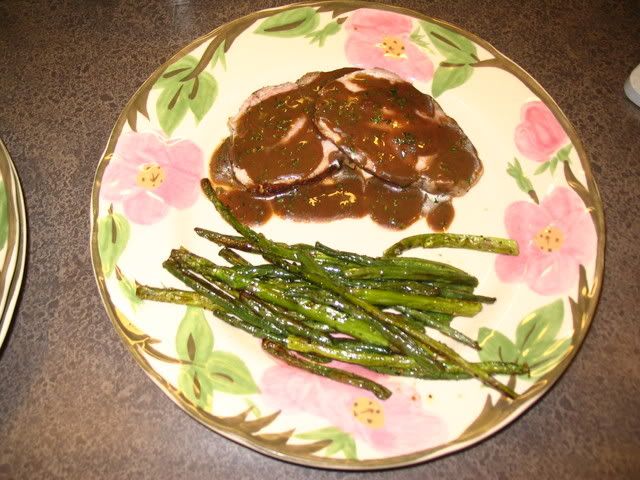
Place the chicken skin side up in a baking dish and bake for 25 minutes at 375 degrees F. Spoon the BBQ sauce all over the top of the chicken and return the dish to the oven and bake for another 15 minutes.

Suggestions
This BBQ sauce is not for the faint of heart! While I really enjoyed it I would suggest scaling back on either (or both) the brown sugar or ketchup. The sauce seemed somewhat unbalanced in sweetness to me. I would also consider at least doubling the amount of Dijon mustard. Its flavor was completely overpowered by the balsamic vinegar. I happen to like a nice punch in my BBQ sauce, something I think would be better fulfilled with additional mustard.
This recipe also makes provisions for the use of steak as an alternative to chicken, as well as the use of an outdoor grill or indoor grill pan. I would highly recommend an outdoor grill. It would have been my first choice in the preparation of this dish had I not been limited to a somewhat unreliable tabletop grill.
Grilling recommendations: lightly coat the chicken or steak with BBQ sauce and place on the grill. Allow the sauce to gently simmer while the meat cooks. Cook the chicken about 8 minutes per side, the steaks about 4 minutes per side (dependent upon preferred preparation). Brush the meat with the BBQ sauce every few minutes. Remove from the gill and allow the meat to rest for 5 minutes before serving.
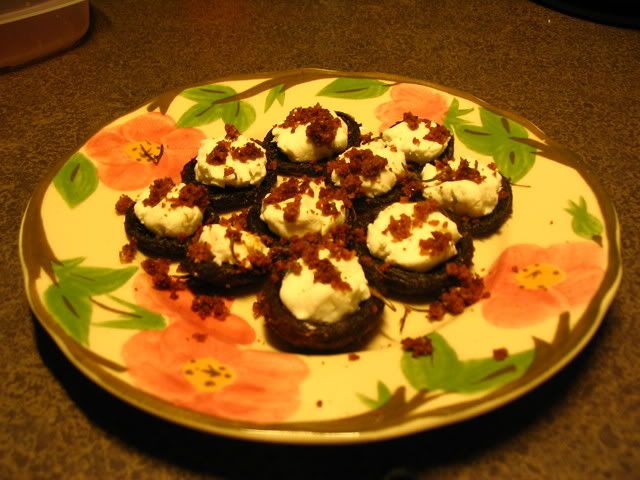
Opinion

While my husband and I really enjoyed this (reheated the chicken is surprisingly good), I was not as blown away by it as I thought I might be heading into the preparation. I really felt the sauce was just too sweet and the mustard completely overpowered. The lack of balance left the vinegar garishly bold. I would definitely like to revisit this one with some alterations to the BBQ sauce preparation, as well as a trip out to a more reliable grill. Don't forget, however, a significant advantage to oven baking: incredibly tender and juicy chicken.
This one gets a 3. With future preparation I may amend that number upward.